- U7-265
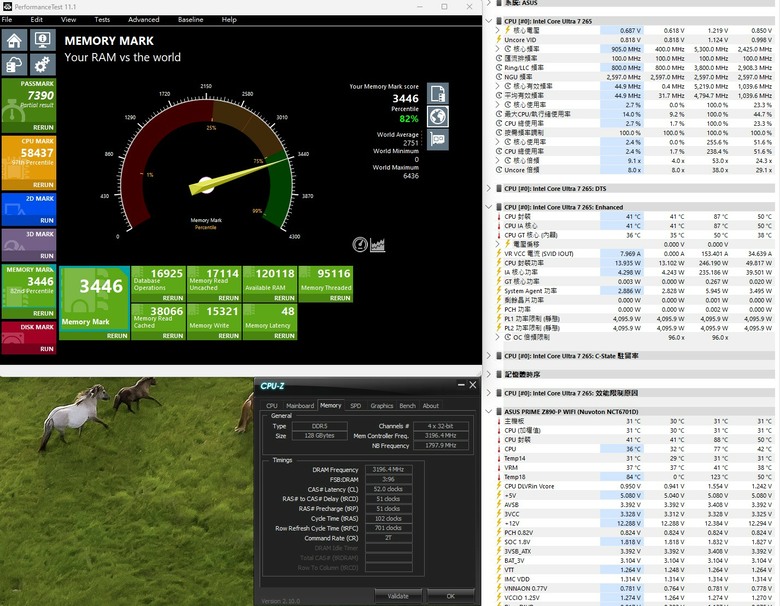
- Crucial DDR5-6400 cl52 64GB x 2 (CUDIMM)
自己也買了以下幾項新品
- ASUS PRIME Z890-P WiFi
- Cooler Master Hyper 612 Apex (本次開箱主角)
- darkFlash DRX70 Black
- Seasonic Core GX-750 ATX3
- Phanteks M25-140 三扇組
- Thermalright TL-C12C 三扇組
- Thermalright TL-B14B EXTREM
上述開箱已發表過, 有興趣的朋友點此觀看
對這顆散熱器情有獨鐘, 在它推出時就注意到它的好, 如果有要組新電腦, 預算也許可之下, 這顆無疑是最佳選擇
推薦原因:
- 解熱功耗至少220W
- 不擋記憶體 (若使用ARGB, 可完全詮釋記憶體灯條)
- 好安裝, 若不含拍照構圖, 應可在十五分鐘內完成
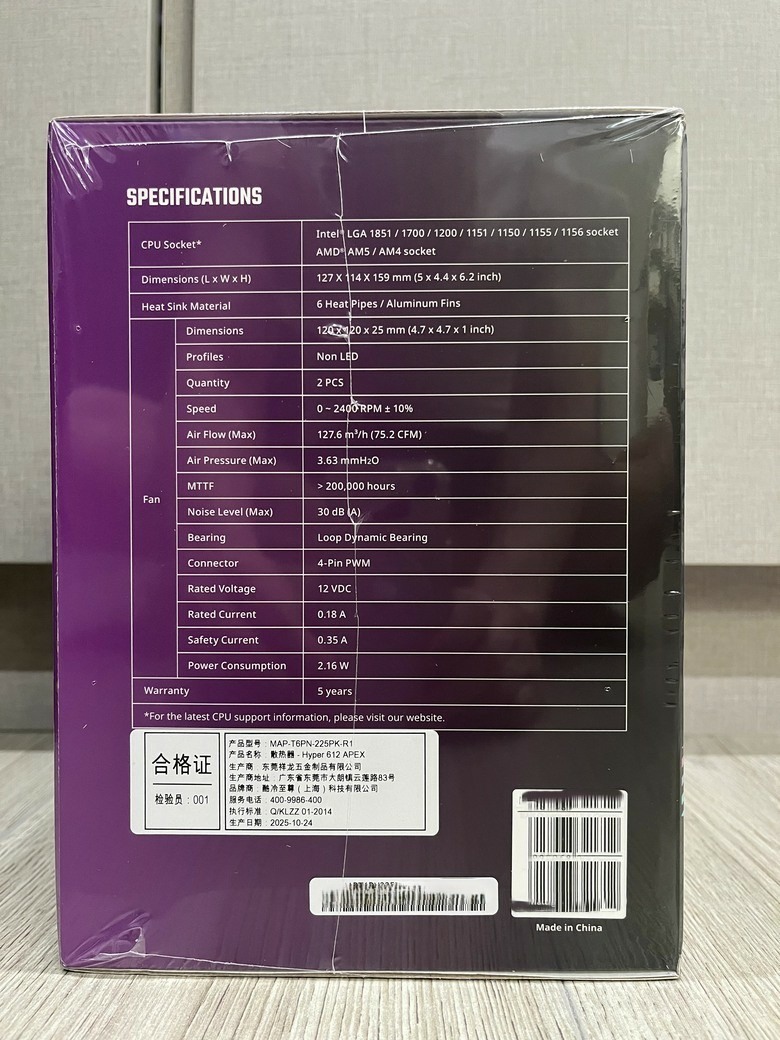
規格:
支持腳位
AMD AM4/AM5
INTEL 1851/1700/1200/1151/1150/1155/1156
尺寸(長 x 寬 x 高)
127 x 114 x 159 mm / 5.0 x 4.4 x 6.2 inch
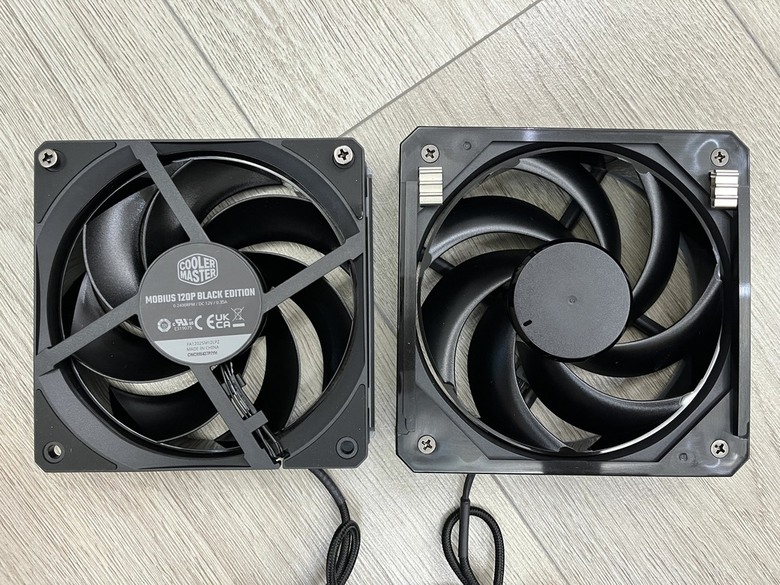
兩顆Mobius風扇
最大轉速: 2400rpm
最大風壓 3.63mmH2O
最大風量: 75.2 cfm
最大風噪: 30dBA
風扇軸承: LDB
風扇功耗: 2.16W (12VDC/0.35A)
風扇平均故障間隔 >200K 小時
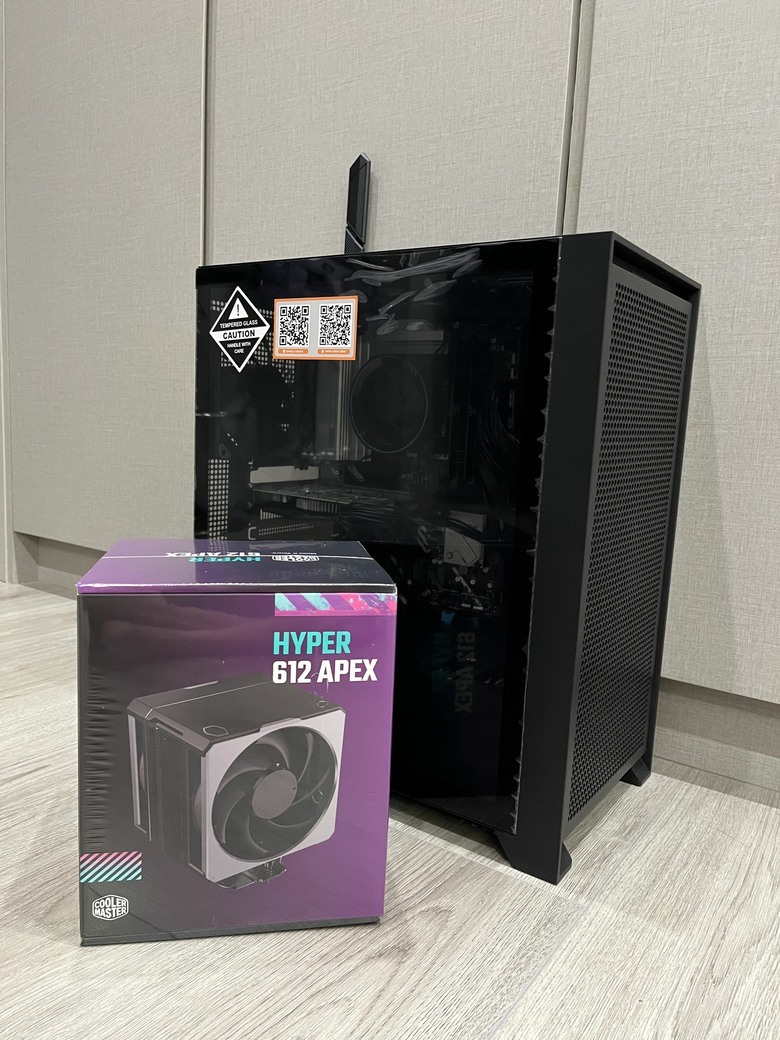
外包裝:
- 開箱主角: Hyper 612 Apex
![點我看大圖 [開箱] Cooloer Master Hyper 612 Apex](https://attach.mobile01.com/attach/202604/mobile01-2f596e30cf34ff05036710c66bf13886.jpg)
- 預計裝入的主機
![點我看大圖 [開箱] Cooloer Master Hyper 612 Apex](https://attach.mobile01.com/attach/202604/mobile01-54d7fb76acdd761ab2c3819da0e257d5.jpg)
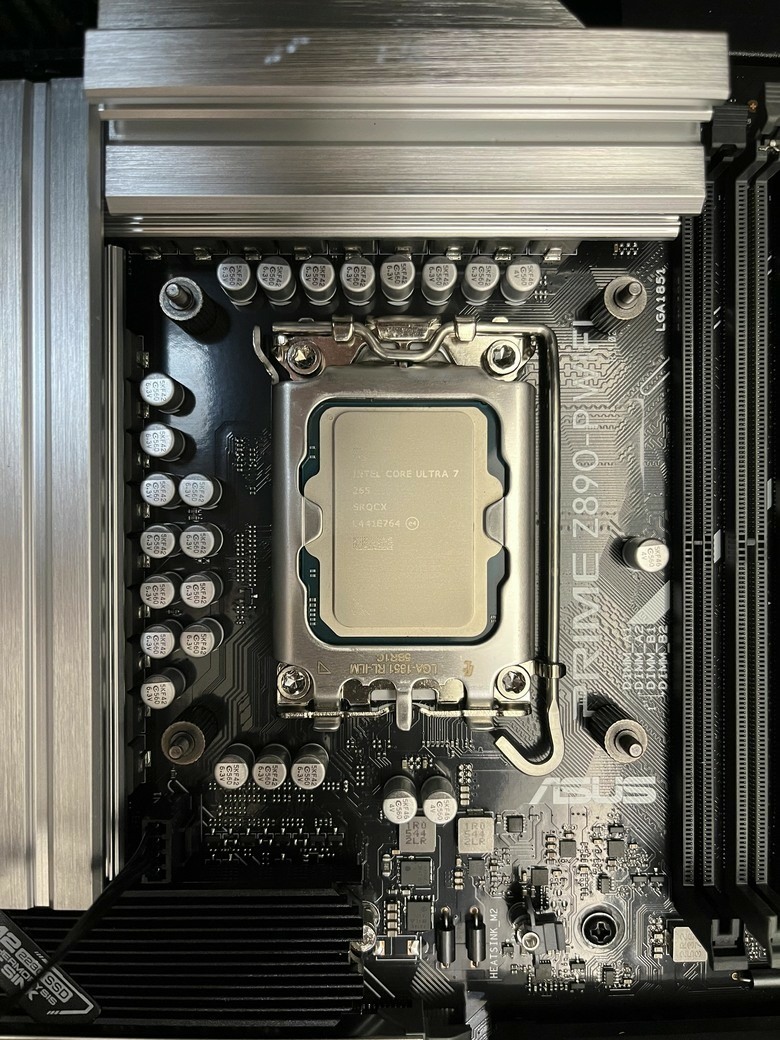
- CPU U7-265
![點我看大圖 [開箱] Cooloer Master Hyper 612 Apex](https://attach.mobile01.com/attach/202604/mobile01-23c1a8d992166e344b7e3b3ec172a83b.jpg)
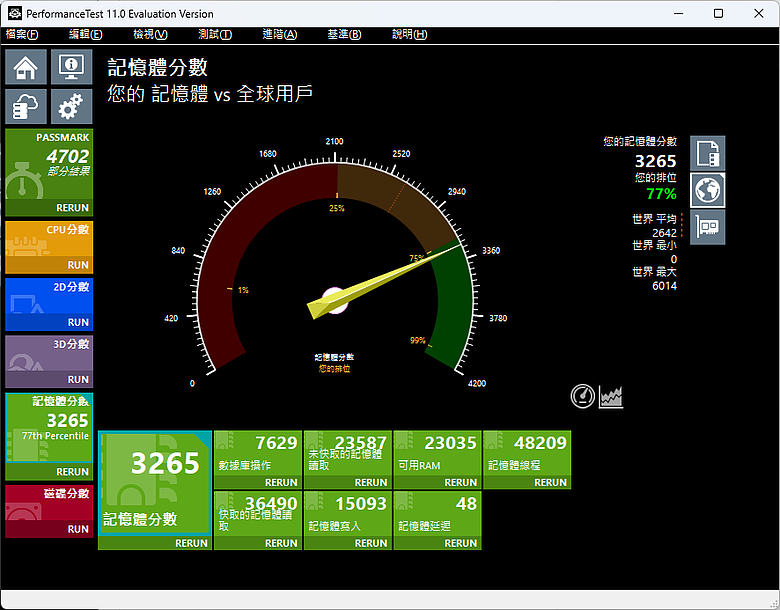
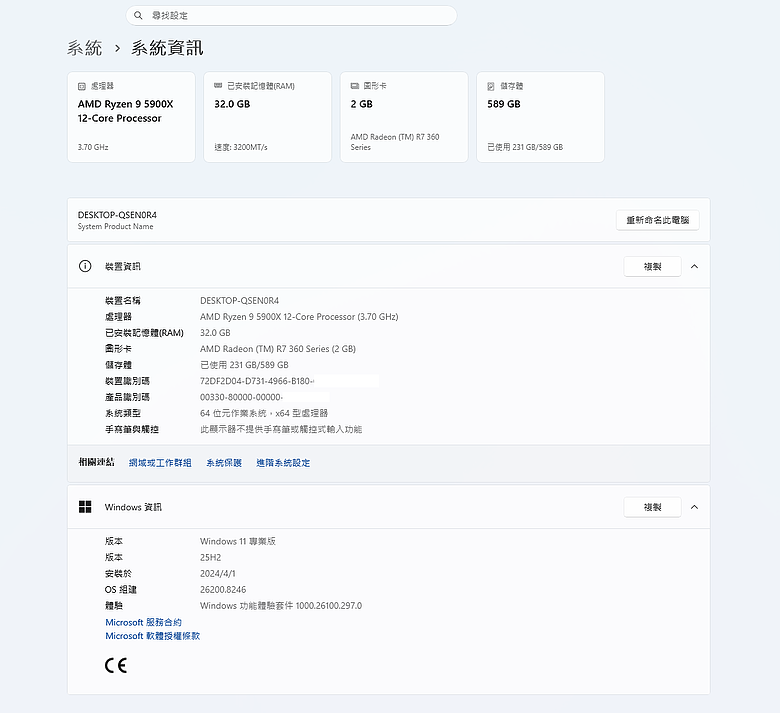
- 規格表
![點我看大圖 [開箱] Cooloer Master Hyper 612 Apex](https://attach.mobile01.com/attach/202604/mobile01-bd1b71390cfe1c01fd8f068c666a710e.jpg)
開箱
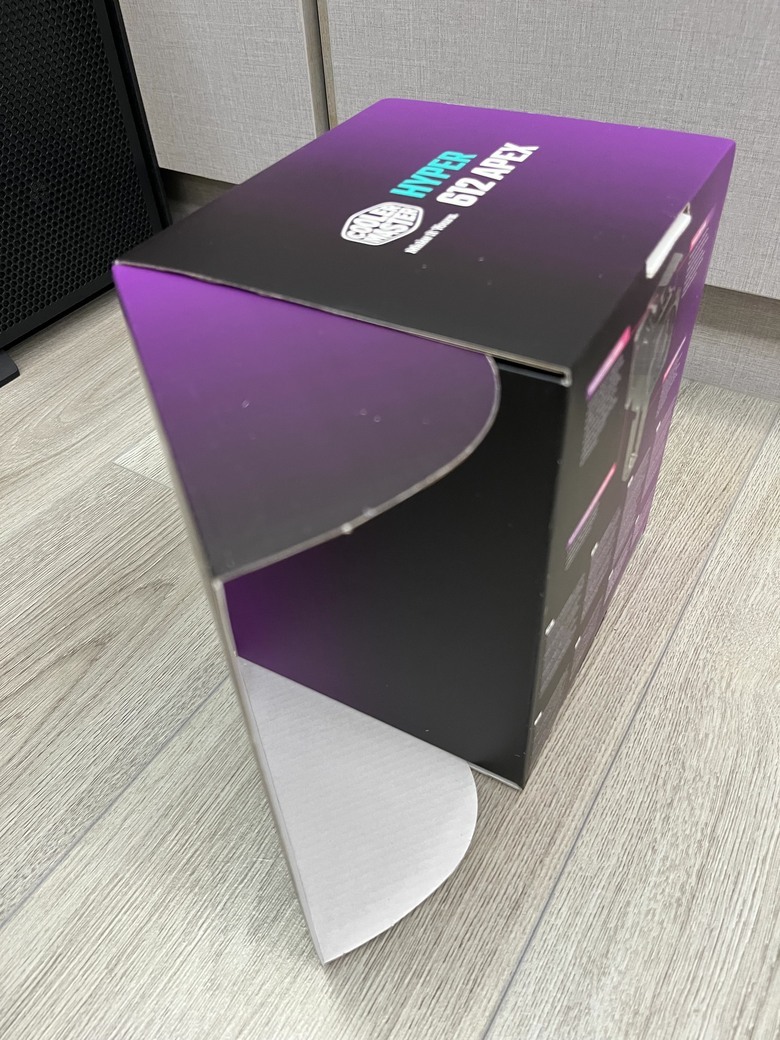
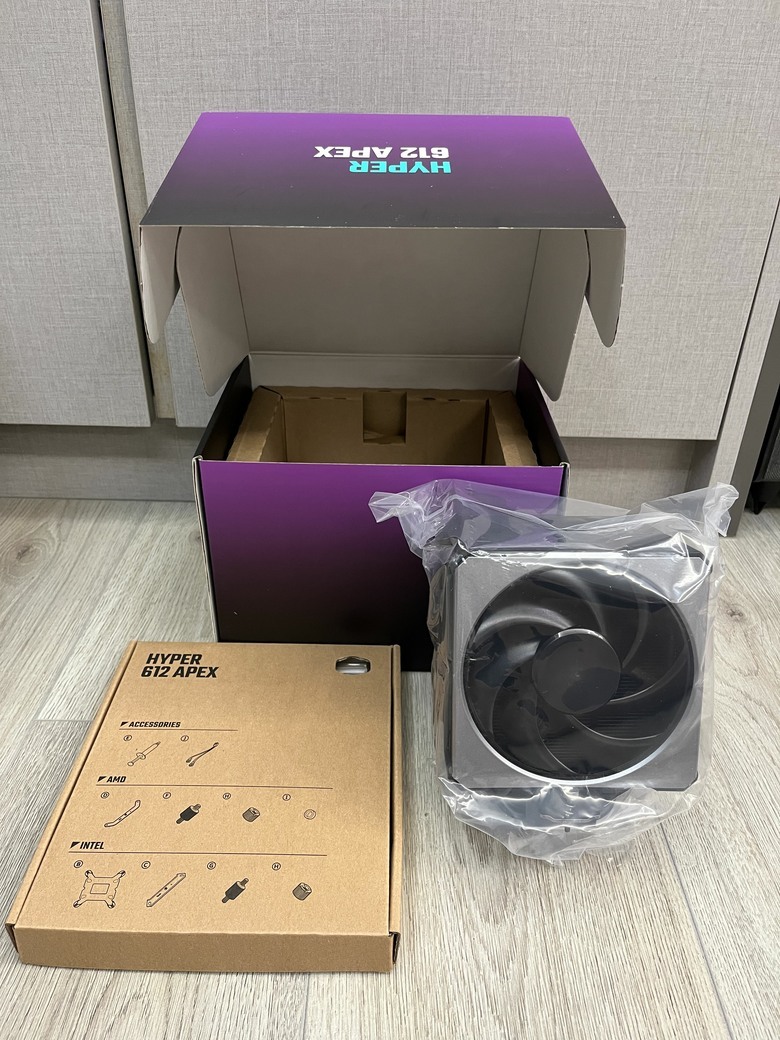
- 要從這邊開, 很密實
![點我看大圖 [開箱] Cooloer Master Hyper 612 Apex](https://attach.mobile01.com/attach/202604/mobile01-34fcf4e36ee508208e493de818f17432.jpg)
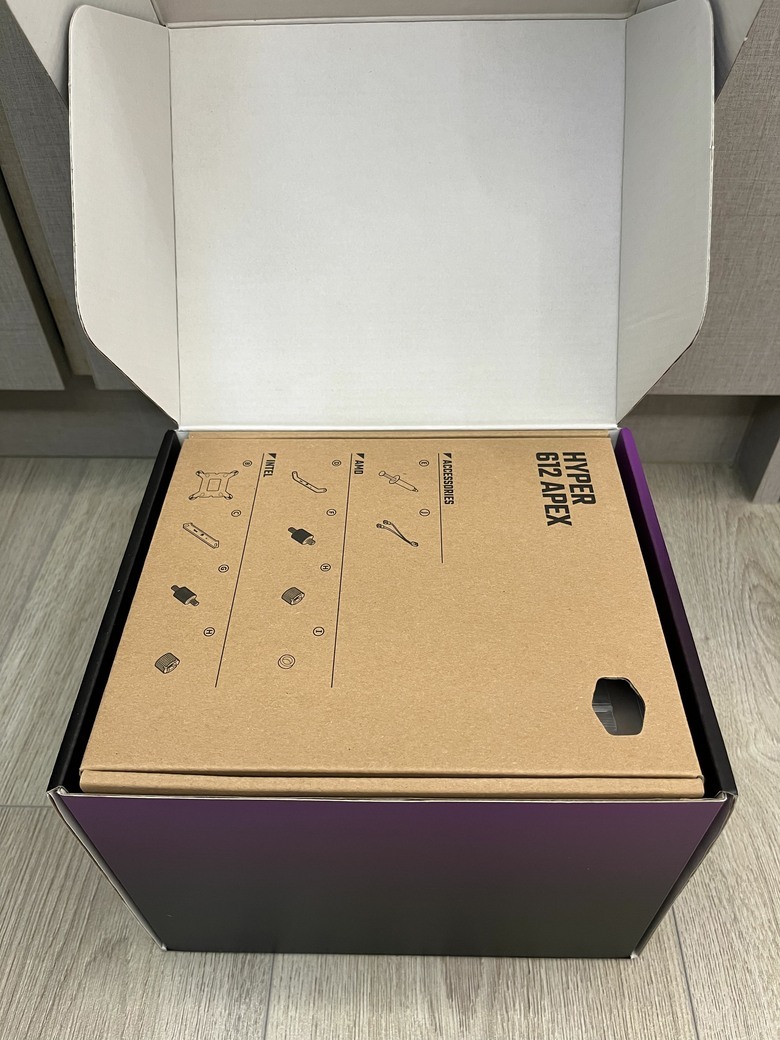
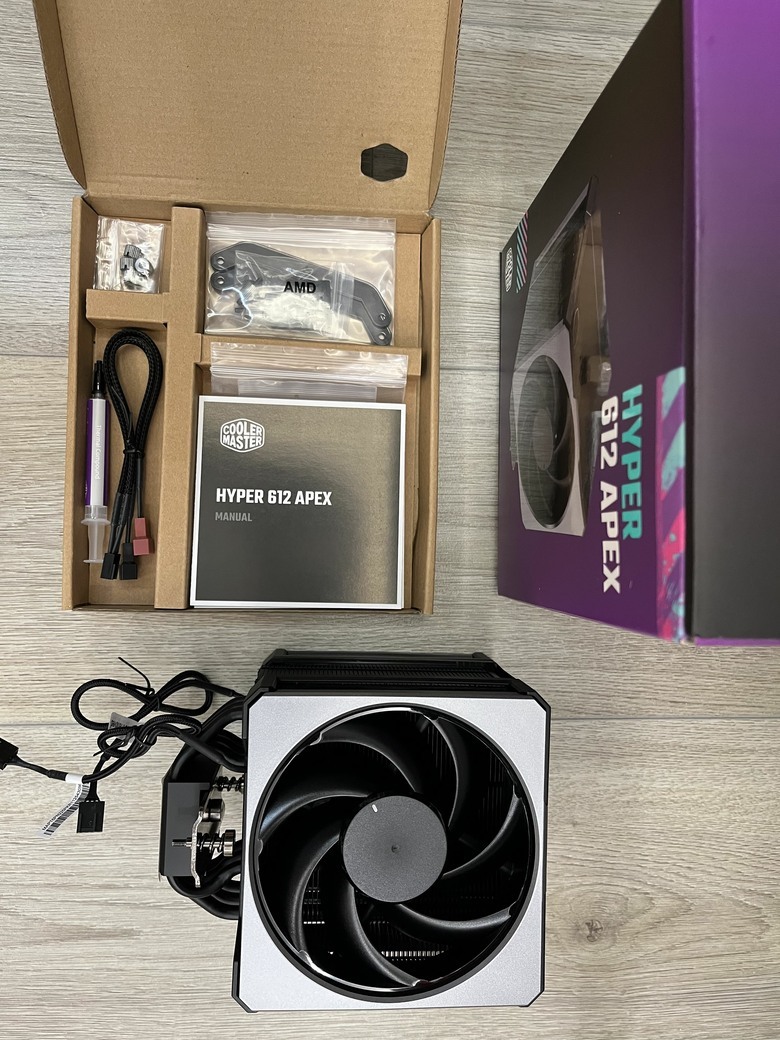
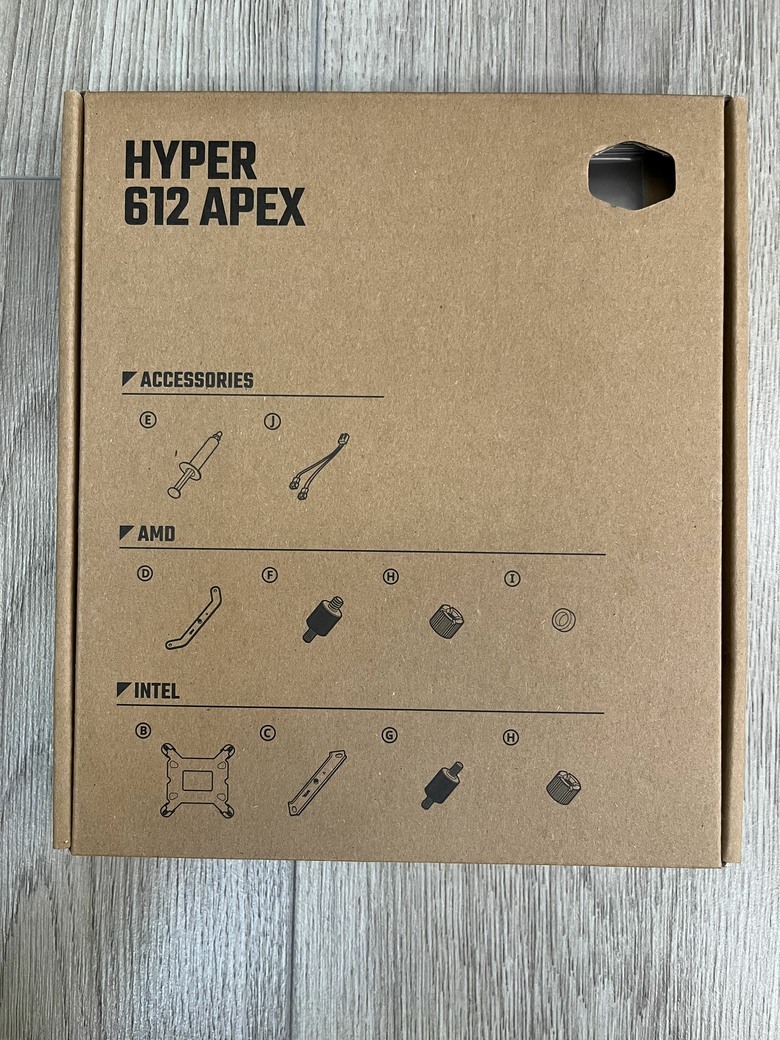
- 打開後先看到配件盒
![點我看大圖 [開箱] Cooloer Master Hyper 612 Apex](https://attach.mobile01.com/attach/202604/mobile01-ea98a68deb0381da614e9a909c537235.jpg)
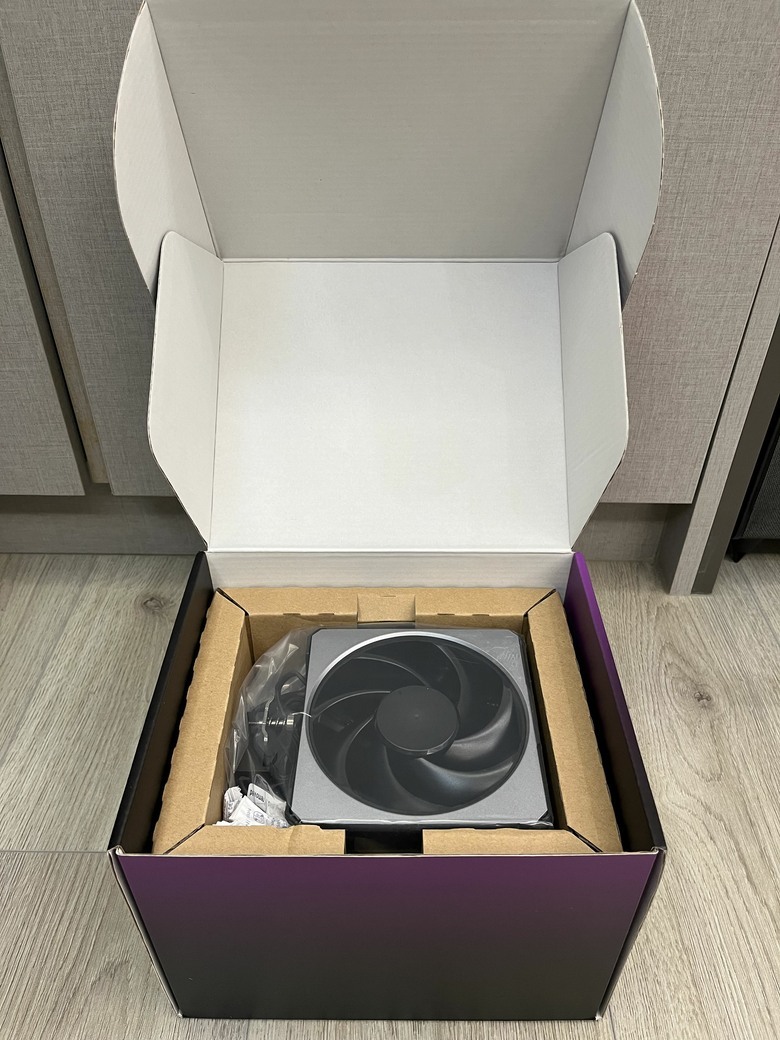
- 配件盒取出後是散熱器
![點我看大圖 [開箱] Cooloer Master Hyper 612 Apex](https://attach.mobile01.com/attach/202604/mobile01-37545e30c6120108ce919968b77f3644.jpg)
- 主役一
![點我看大圖 [開箱] Cooloer Master Hyper 612 Apex](https://attach.mobile01.com/attach/202604/mobile01-389d80899595b48e5d100ba87bc03191.jpg)
- 主役二
![點我看大圖 [開箱] Cooloer Master Hyper 612 Apex](https://attach.mobile01.com/attach/202604/mobile01-104b81230fece1bc8783b3eda6bf393b.jpg)
- 滿滿的CM元素在右上角
![點我看大圖 [開箱] Cooloer Master Hyper 612 Apex](https://attach.mobile01.com/attach/202604/mobile01-7d7bb5f9134ef885858404eac8aaec6a.jpg)
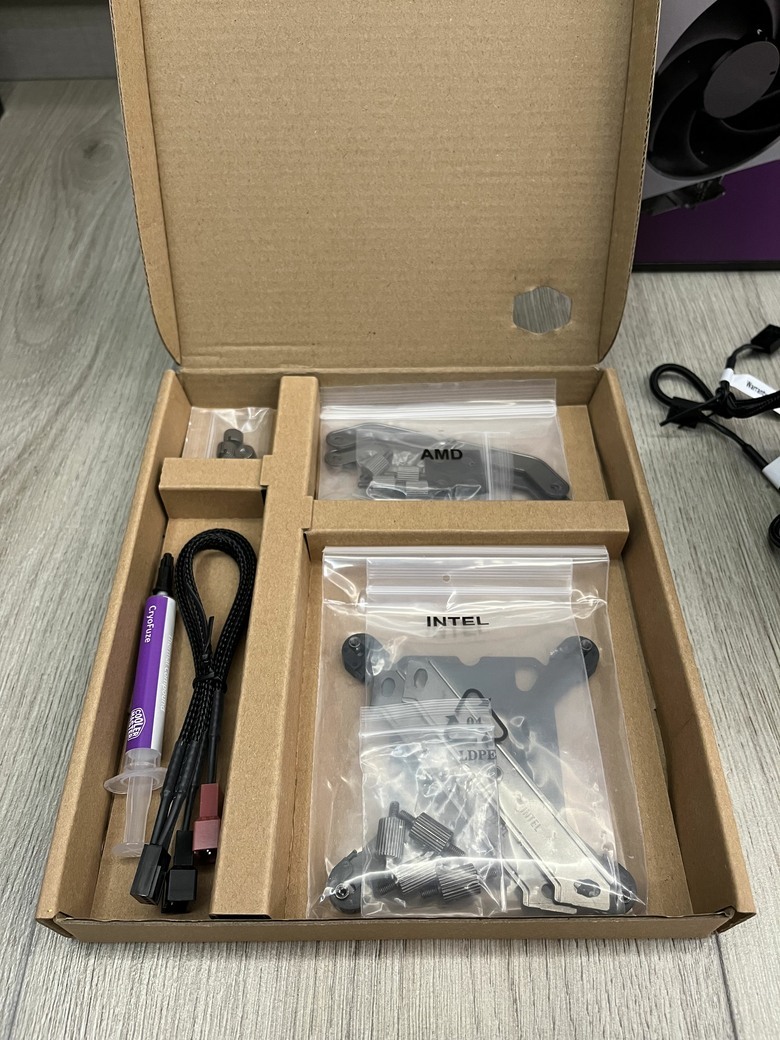
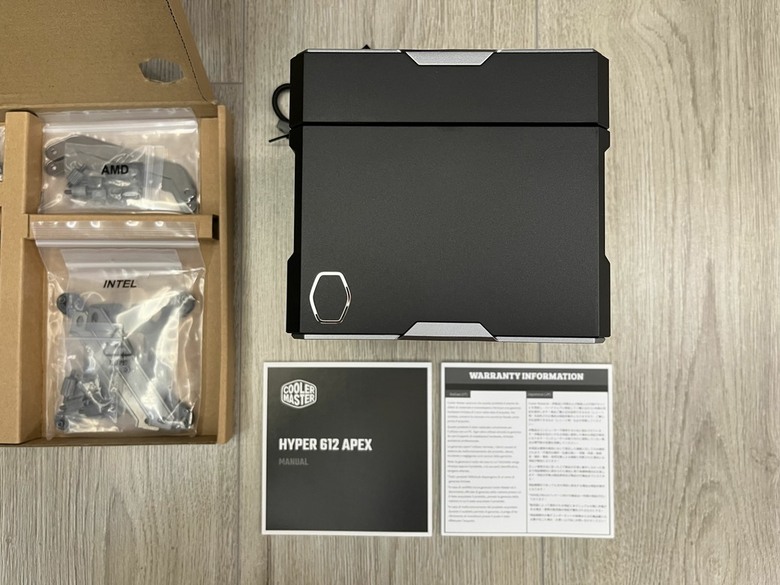
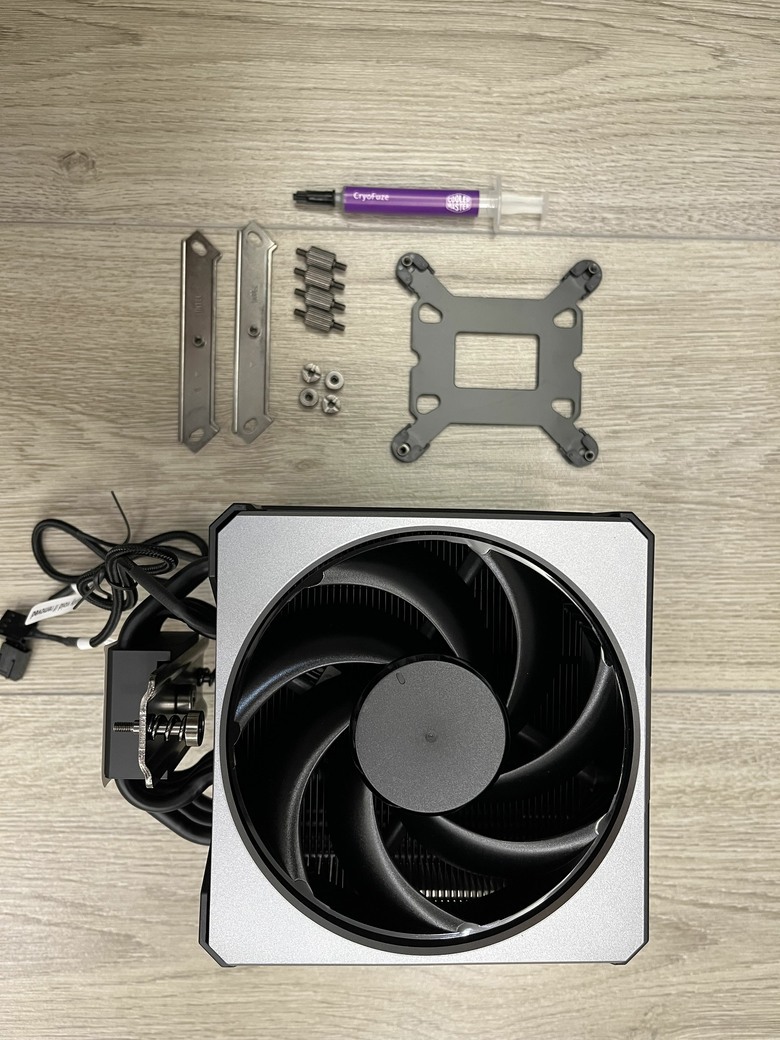
- 扣具+CryoFuse Greeze+一分二拓展線
![點我看大圖 [開箱] Cooloer Master Hyper 612 Apex](https://attach.mobile01.com/attach/202604/mobile01-5518ca12973f85d4f3608ee717471d24.jpg)
- 保固書與安裝說明書
![點我看大圖 [開箱] Cooloer Master Hyper 612 Apex](https://attach.mobile01.com/attach/202604/mobile01-ec1b041a34ca2d37fc494e23e154b183.jpg)
散熱器本體:
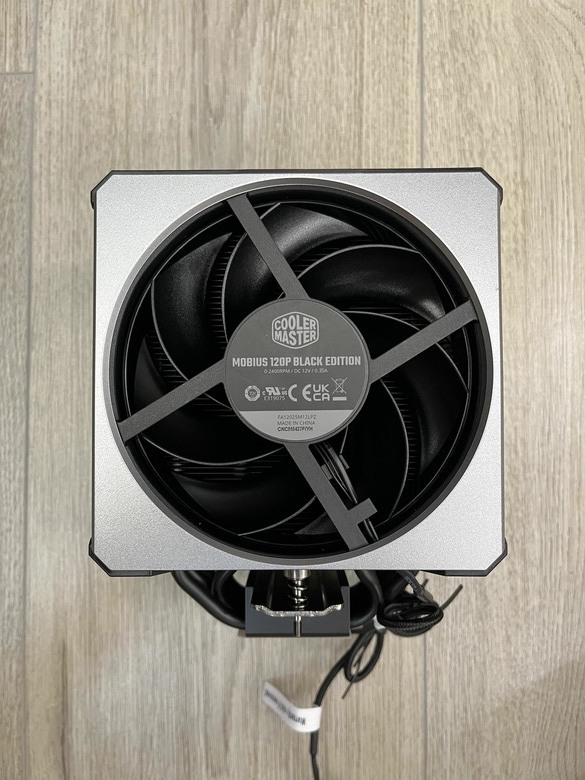
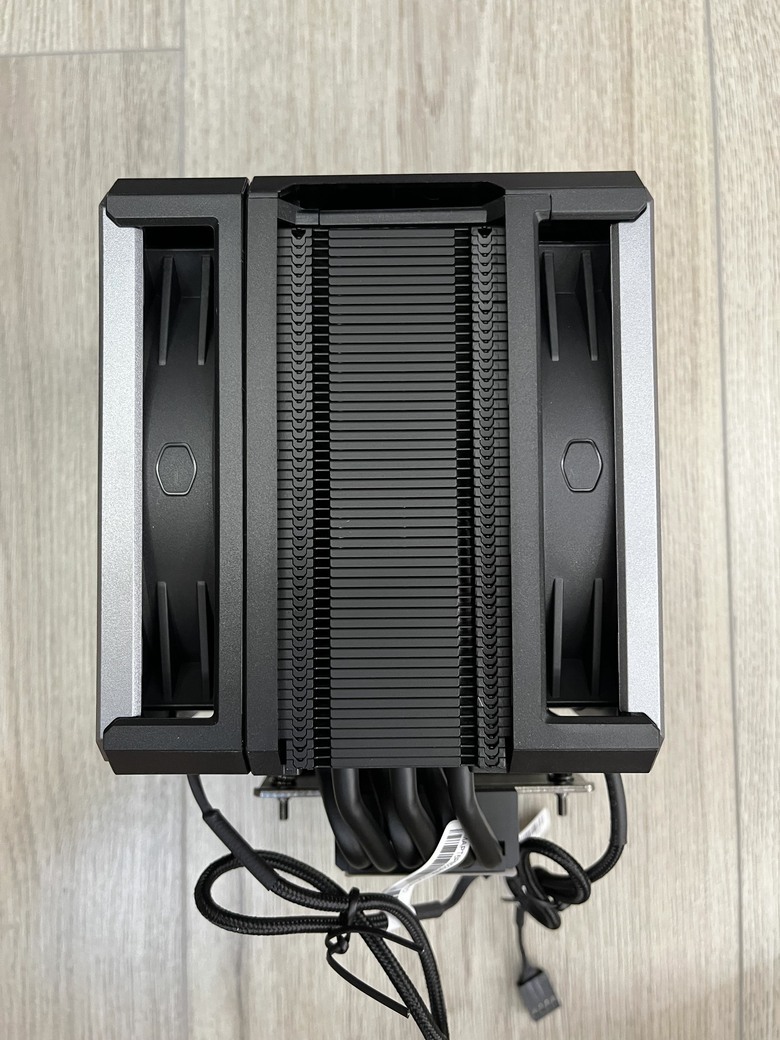
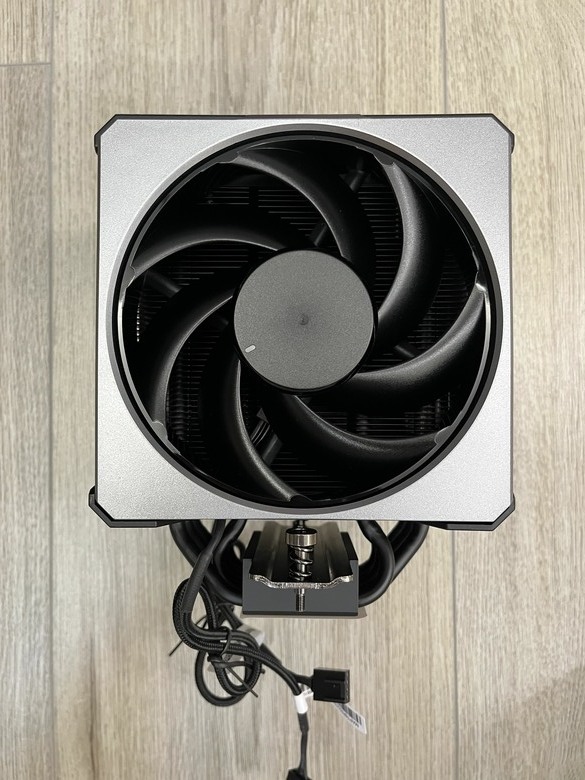
各位看得出哪邊裝在前, 哪邊裝在後嗎? 把扇葉當成手掌, 能刮出風的那邊就是正面
- 前
![點我看大圖 [開箱] Cooloer Master Hyper 612 Apex](https://attach.mobile01.com/attach/202604/mobile01-c12d4c7c18241f255ced2d5f10982666.jpg)
- 後
![點我看大圖 [開箱] Cooloer Master Hyper 612 Apex](https://attach.mobile01.com/attach/202604/mobile01-5bfb6bb0201d91ee38fc94f1e439f8ca.jpg)
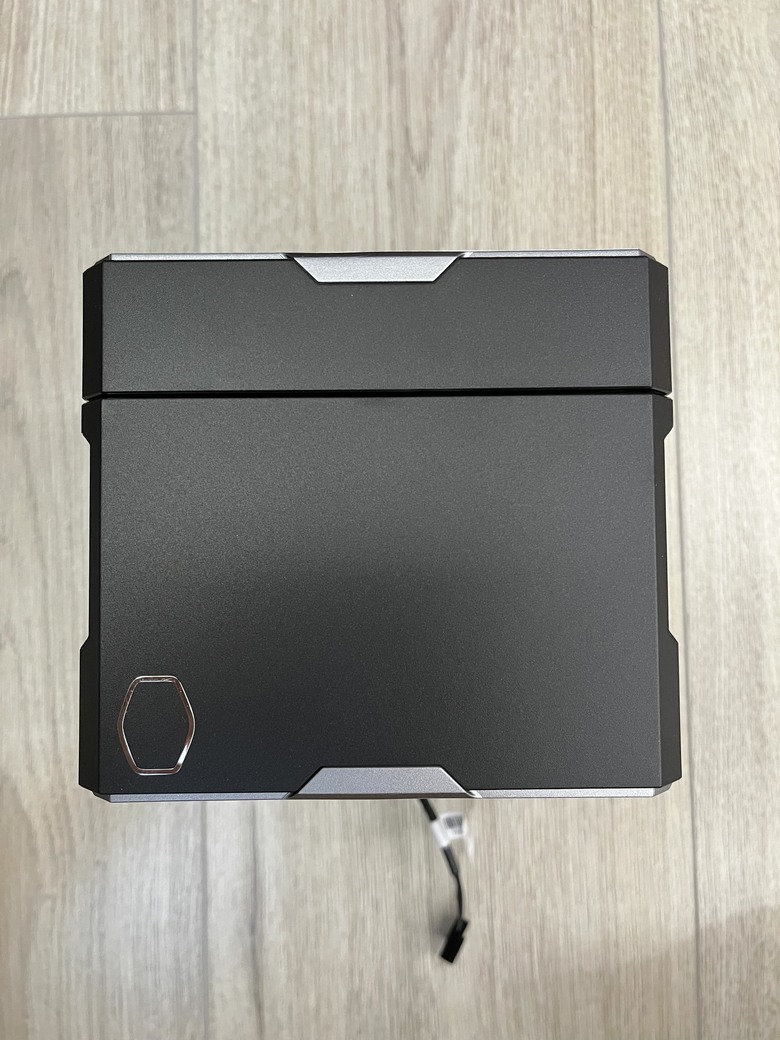
- 上
![點我看大圖 [開箱] Cooloer Master Hyper 612 Apex](https://attach.mobile01.com/attach/202604/mobile01-a407347ab64515530b4e5409fce57aac.jpg)
- 下
![點我看大圖 [開箱] Cooloer Master Hyper 612 Apex](https://attach.mobile01.com/attach/202604/mobile01-8b45cd16b0d0ad4162b63a0281298b6d.jpg)
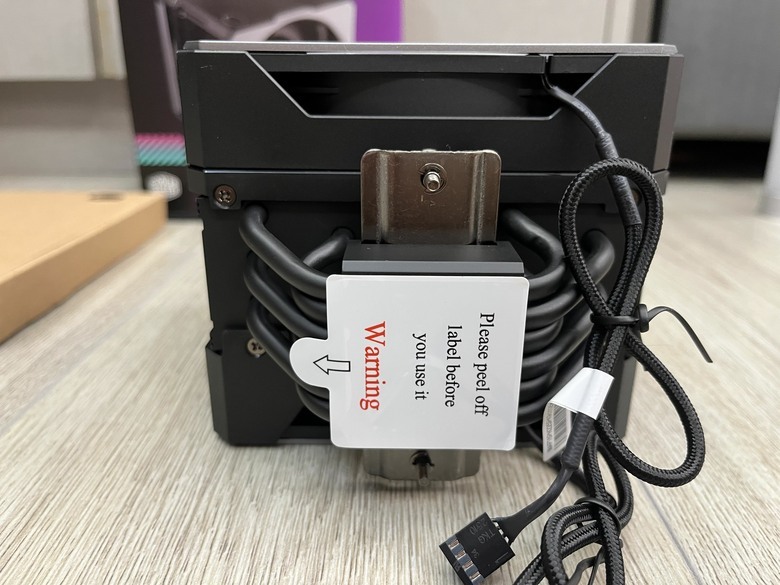
- 側
![點我看大圖 [開箱] Cooloer Master Hyper 612 Apex](https://attach.mobile01.com/attach/202604/mobile01-fd8ae3b66cff65d4531ab6764cb8d746.jpg)
開始組裝:
- 開組
![點我看大圖 [開箱] Cooloer Master Hyper 612 Apex](https://attach.mobile01.com/attach/202604/mobile01-f2c72dc7dfd5a6d01f22b5d1c3ae068b.jpg)
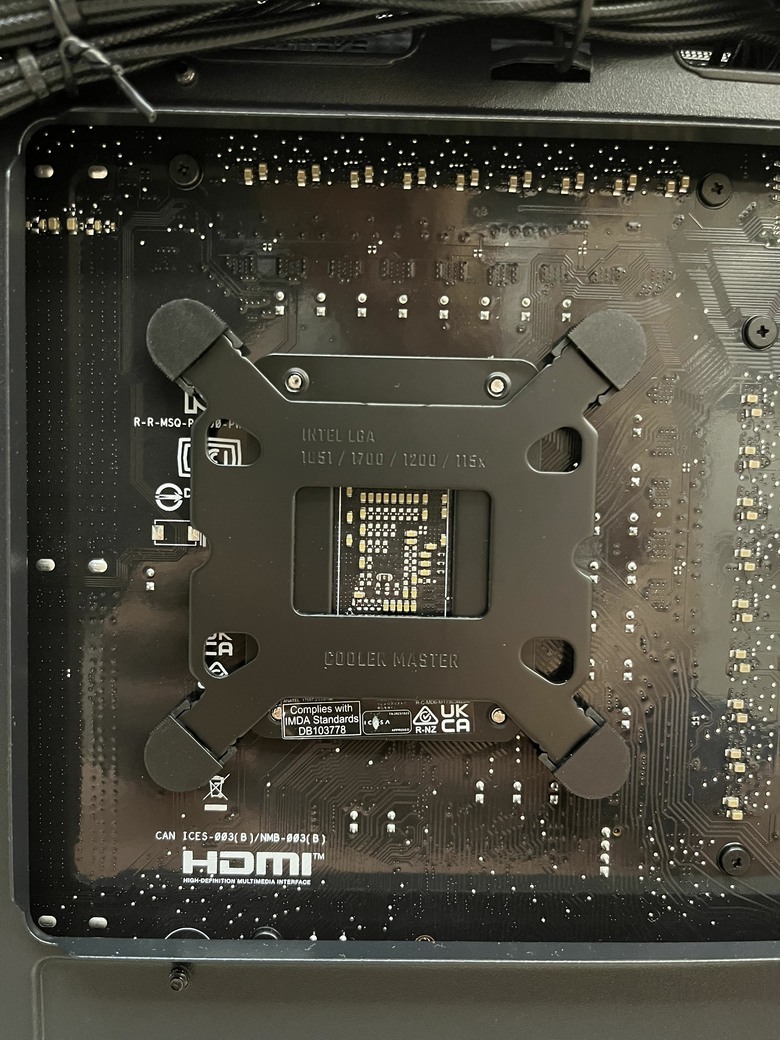
- 機殼背部開孔, 直接上扣具
![點我看大圖 [開箱] Cooloer Master Hyper 612 Apex](https://attach.mobile01.com/attach/202604/mobile01-18ab06113d5cc34ddc783aa61d66d158.jpg)
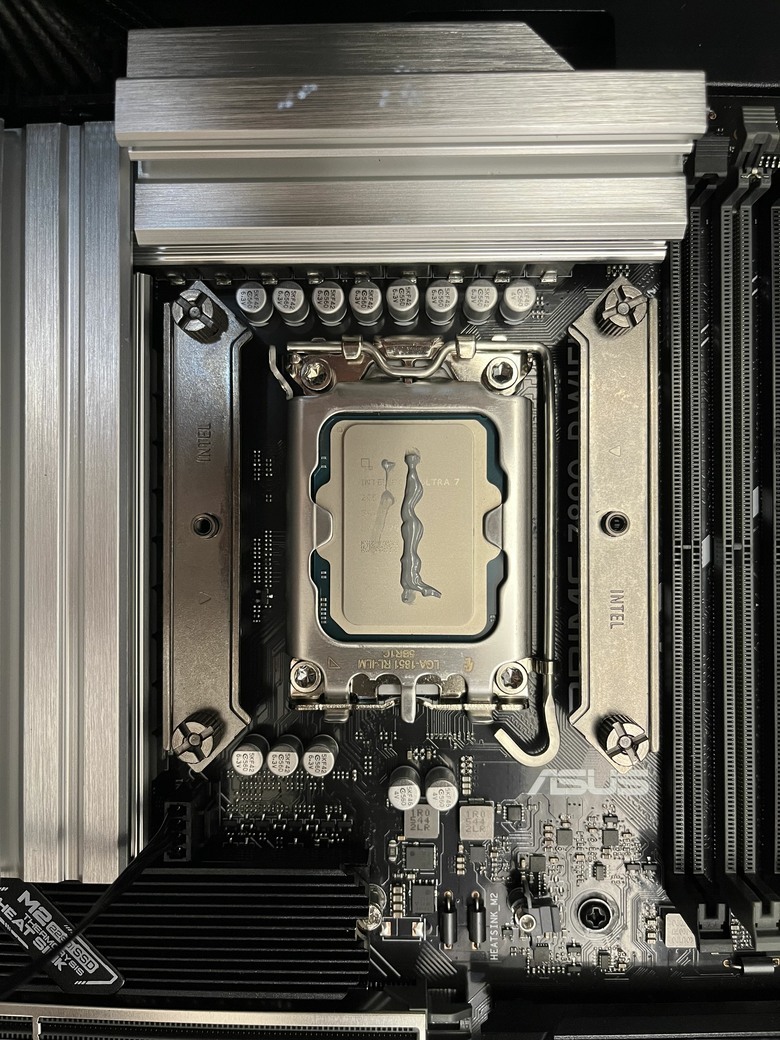
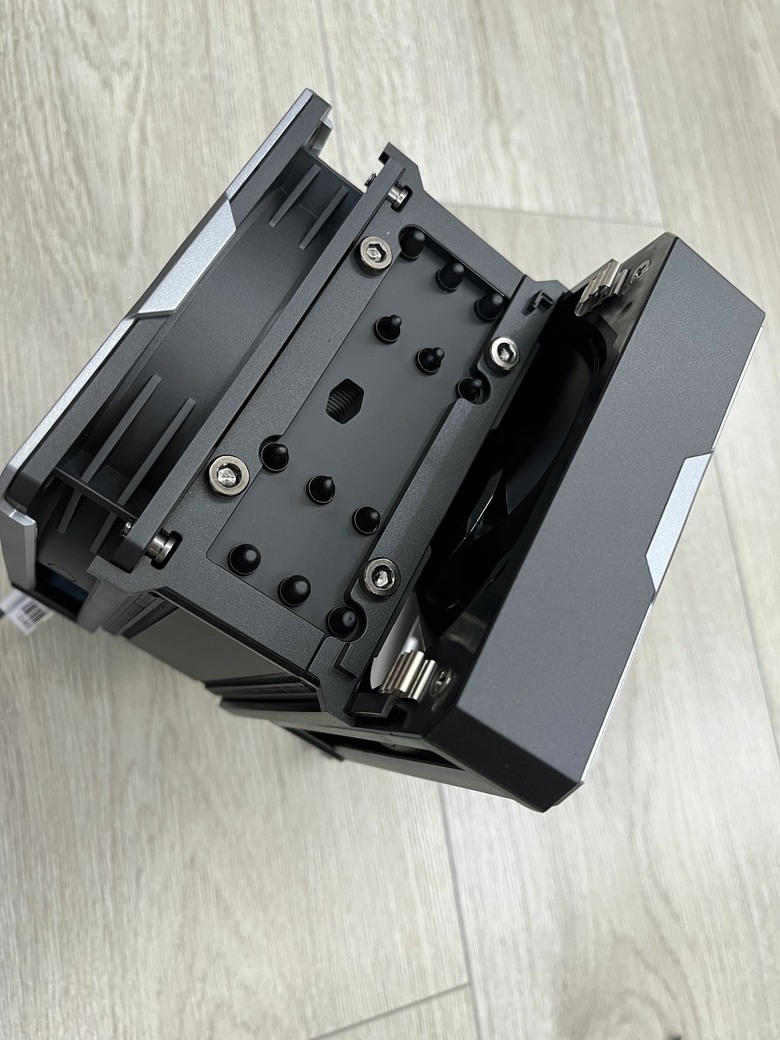
- 散熱膏擠到TILES位置上
![點我看大圖 [開箱] Cooloer Master Hyper 612 Apex](https://attach.mobile01.com/attach/202604/mobile01-0f30c81c364373cd0e8dbb46077c1deb.jpg)
- 得抽出風扇, 否則無法上鎖
![點我看大圖 [開箱] Cooloer Master Hyper 612 Apex](https://attach.mobile01.com/attach/202604/mobile01-3dc32bf7eba5a474ed14daa5f0fccac4.jpg)
- 兩顆莫比烏斯風扇
![點我看大圖 [開箱] Cooloer Master Hyper 612 Apex](https://attach.mobile01.com/attach/202604/mobile01-ec76196dfd9bf539e1431d57c7eb3ff7.jpg)
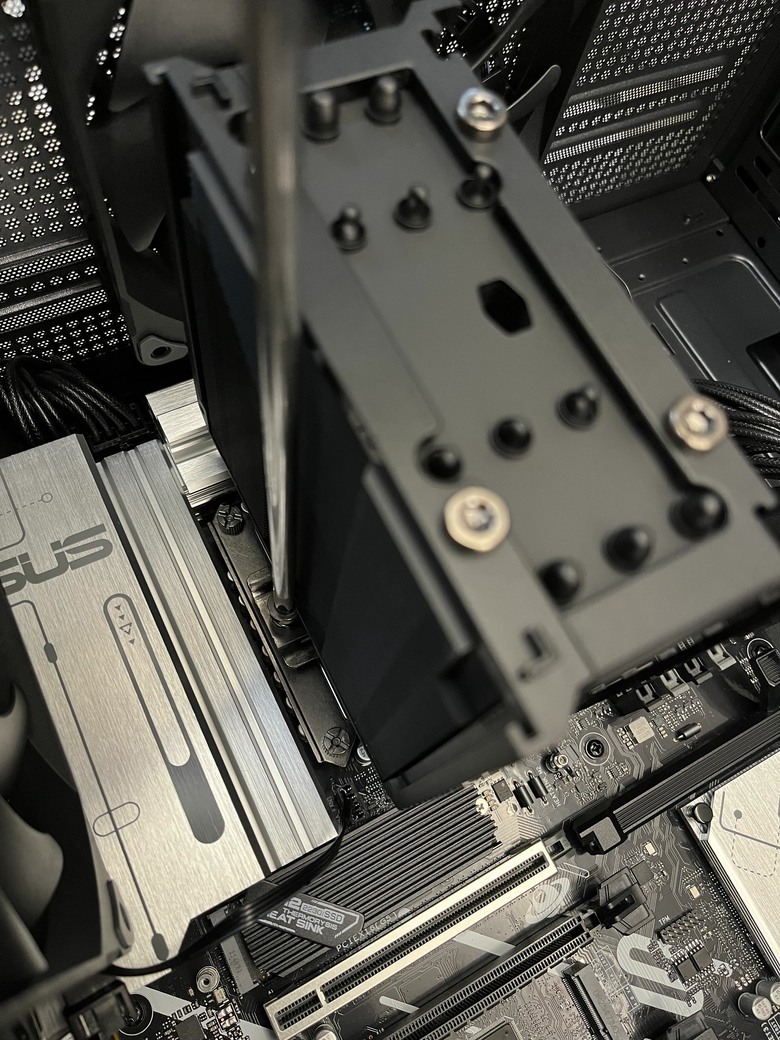
- 上鎖
![點我看大圖 [開箱] Cooloer Master Hyper 612 Apex](https://attach.mobile01.com/attach/202604/mobile01-c9a38352ad27ad7bb9d262a75c2ab537.jpg)
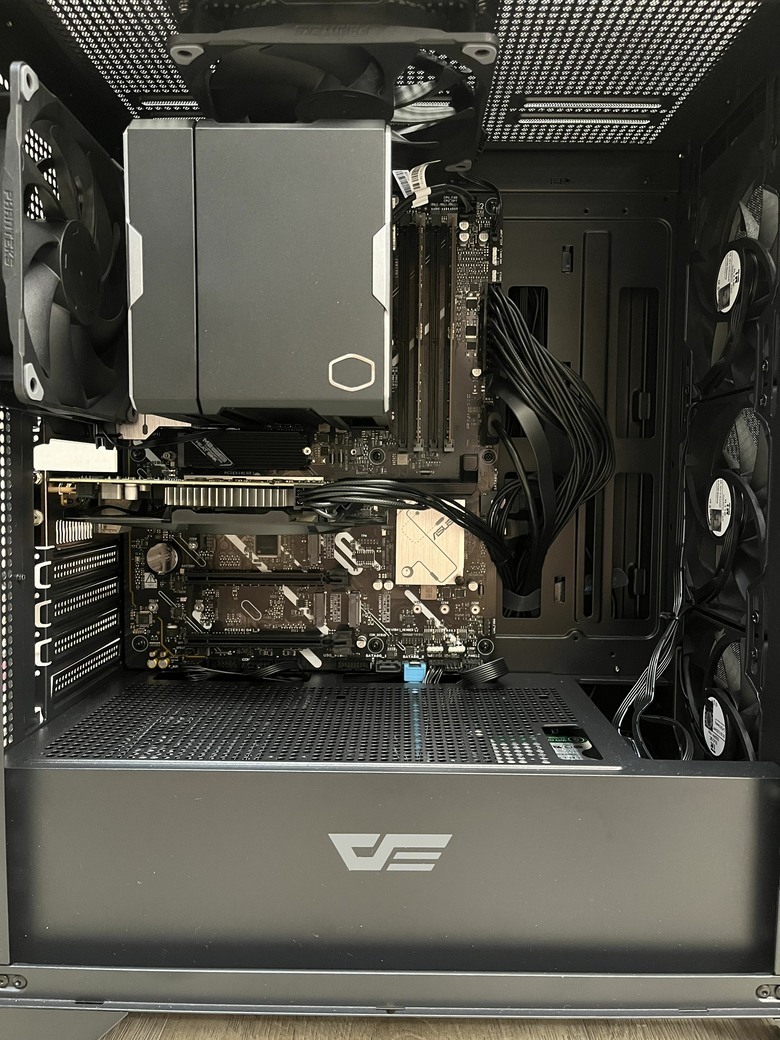
- 完成
![點我看大圖 [開箱] Cooloer Master Hyper 612 Apex](https://attach.mobile01.com/attach/202604/mobile01-2a2bdfd5c712beabd95da5a4aba8dffe.jpg)
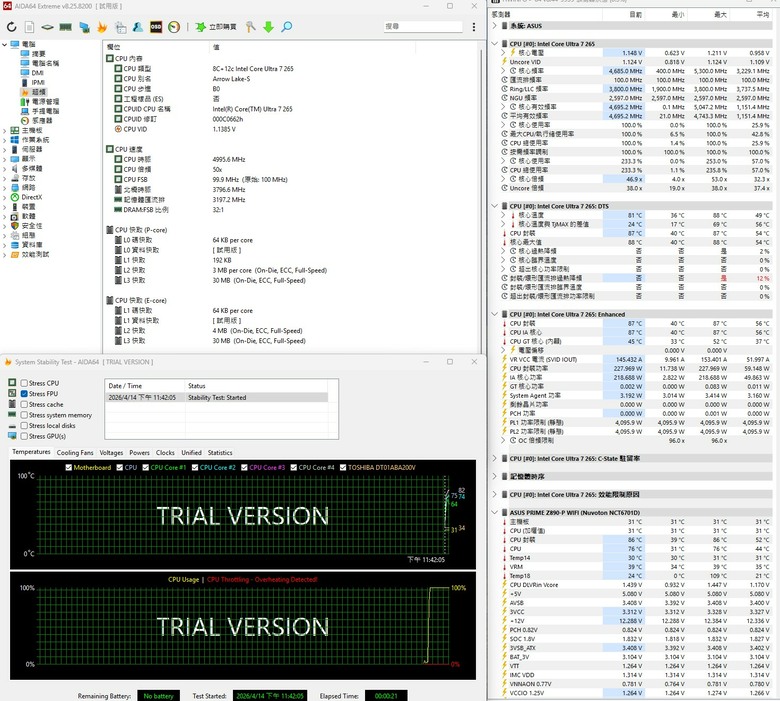
AIDA 64 Stress FPU 227W @87度
![點我看大圖 [開箱] Cooloer Master Hyper 612 Apex](https://attach.mobile01.com/attach/202604/mobile01-6b295e7ab7e64520868819048b5c0d4f.jpg)
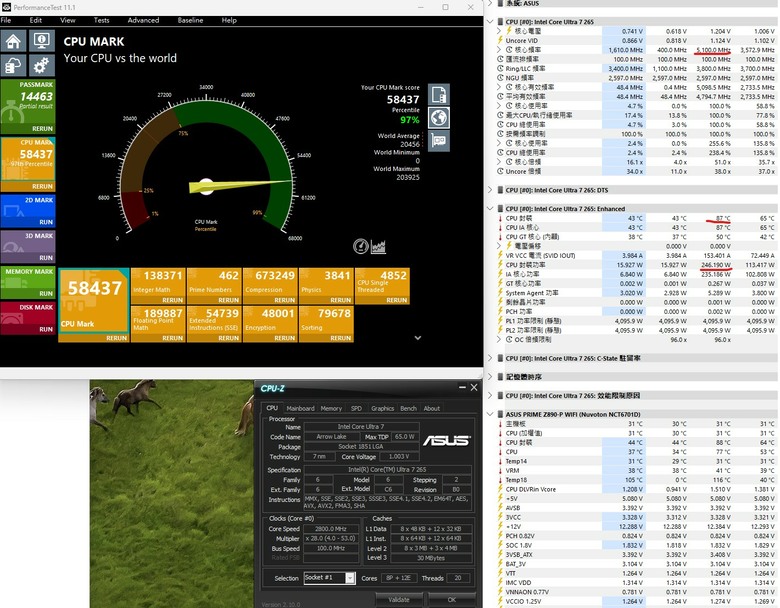
Passmark CPU Mark 246W @87度
![點我看大圖 [開箱] Cooloer Master Hyper 612 Apex](https://attach.mobile01.com/attach/202604/mobile01-78cd20e0da9045a16cbbc33e61fa872d.jpg)
![點我看大圖 [開箱] Cooloer Master Hyper 612 Apex](https://attach.mobile01.com/attach/202604/mobile01-67ee188257a43f7a1b38f6c3a6ecece9.jpg)
結論:
每個人購買散熱器的考量很多, 如果真的只看價錢, 利民有很多好選擇, 例如青春版系列
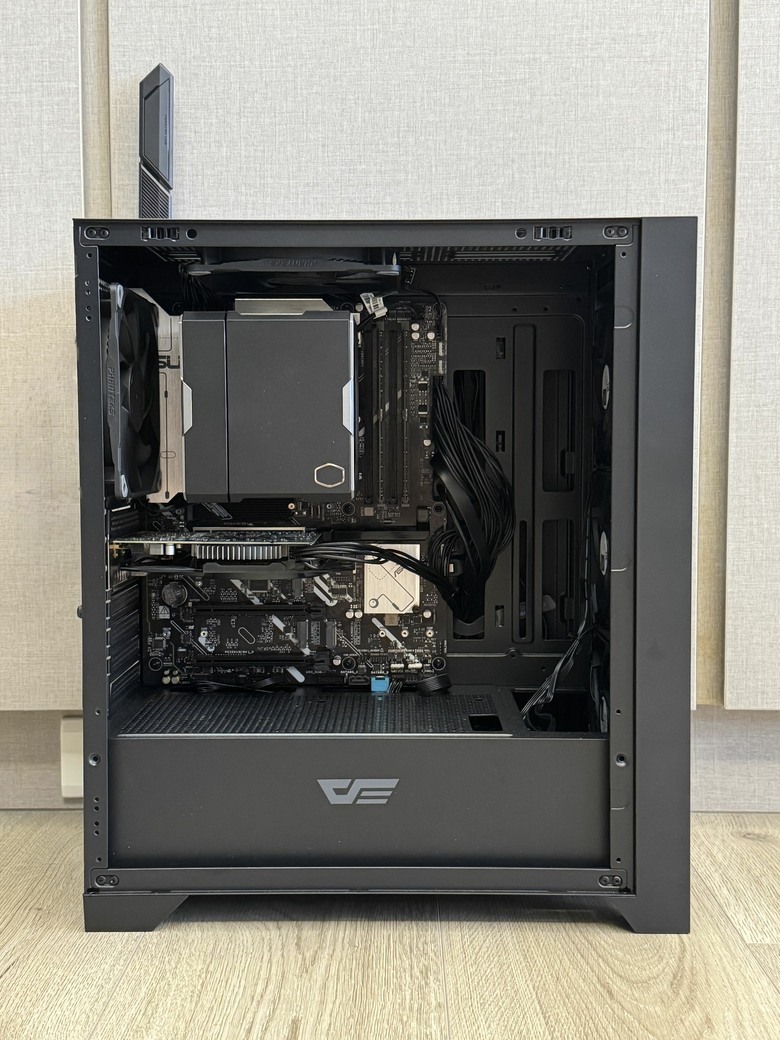
, 但老實說, 拿到的做工品質有點吃運氣, 它的外包裝遇到運送過程有狀況時, 很容易買到驚喜, 除非賣家在它的彩盒外還有加些防護(有看過加氣泡膜), 那可能會好一些; 回頭說Hyper 612 Apex, 它的包裝在防碰撞的考量有下功夫, 當你打開時會感到心安, 收到的本體絕對是好的, 這點對於購買散熱器的朋友來說是非常重要的, 沒有人想拿到一個像王子麵一樣一捏就脆的散熱鰭片是吧單塔不佔空間, 解熱功耗程度至少220W, 雙扇又有顏值的散熱器, 還能找到另一顆跟它比嗎?
貴嗎? 真的很貴, 一顆在台灣的零售價要1,990確實不便宜, 看個人選擇了
![點我看大圖 [開箱] Cooloer Master Hyper 612 Apex](https://attach.mobile01.com/attach/202604/mobile01-60d62a7360892b00938708e08569699d.jpg)
閒聊:
這兩年曾經點評過的商品確實一個一個實現了
- R7-7800X3D (一次買兩顆)
- ASUS Tuf Gaming B850M Plus WiFi7 (一次買兩張)
- ASUS Dual RTX4070 Super 12GB
- G.Skill DDR5-6400 cl32 16GB x 2 (幻鋒戟)
- ASUS ProArt PA602 (感謝好友luckbor)
- Lianli Lancool L217
- darkFlash DRX70
- Seasonic Core GX-750 ATX3 (一次買兩顆)
下一階段還有什麼好商品值得期待? 只希望記憶體跟M.2 SSD價格趕快下來吧, 這樣要再買玩具才更買得下去呀
開箱分享到這裡就結束了, 謝謝收看